
Getting started
This guide takes you from signing in to your first logged event. It takes about ten minutes, most of it spent naming months.
1. Sign in
Choose Log in or Create account at the top of this site and sign in with your Google account. Your Chronkeeper account is created the first time you sign in; there is no separate password.
2. Create a campaign
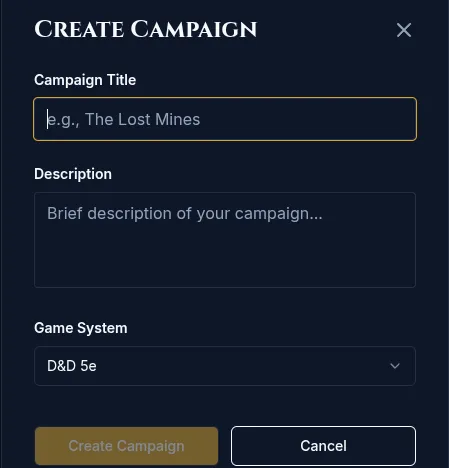
On My Campaigns, choose Create New Campaign. Give it a title (say, The Lost Mines), an optional description, and the game system you play, then choose Create Campaign.
3. Find your campaign settings
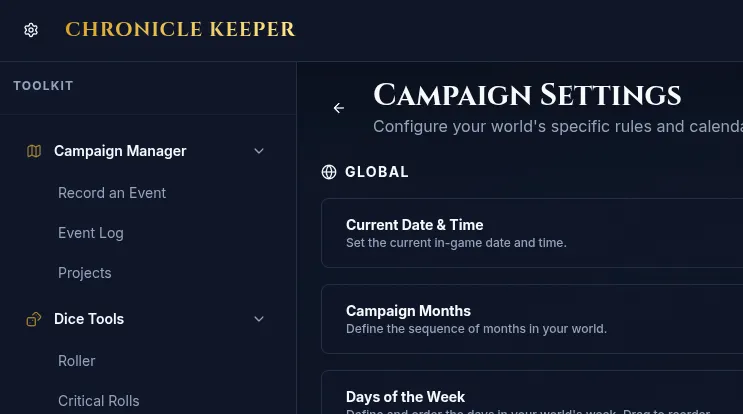
Open your new campaign and look at the top bar: the gear icon sits beside the campaign title. That gear is where everything about how your world works lives (the calendar, locations, players and characters), and you will come back to it often.
Select it to open Campaign Settings. Changes there save as you make them, so there is no save button to hunt for.
Until you set a date and time, the top bar says so and offers the same gear as a shortcut. That is the next step.
4. Build your calendar
In Campaign Settings, work down the panels.
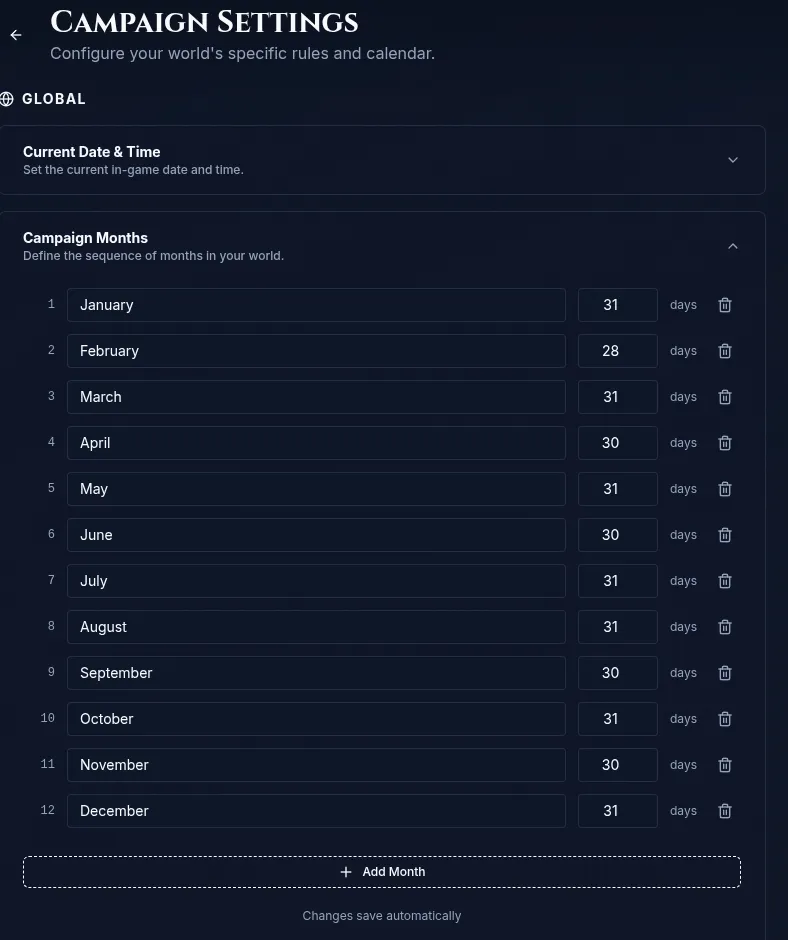
- Campaign Months: name each month and set how many days it has.
- Days of the Week: as many or as few as your world uses.
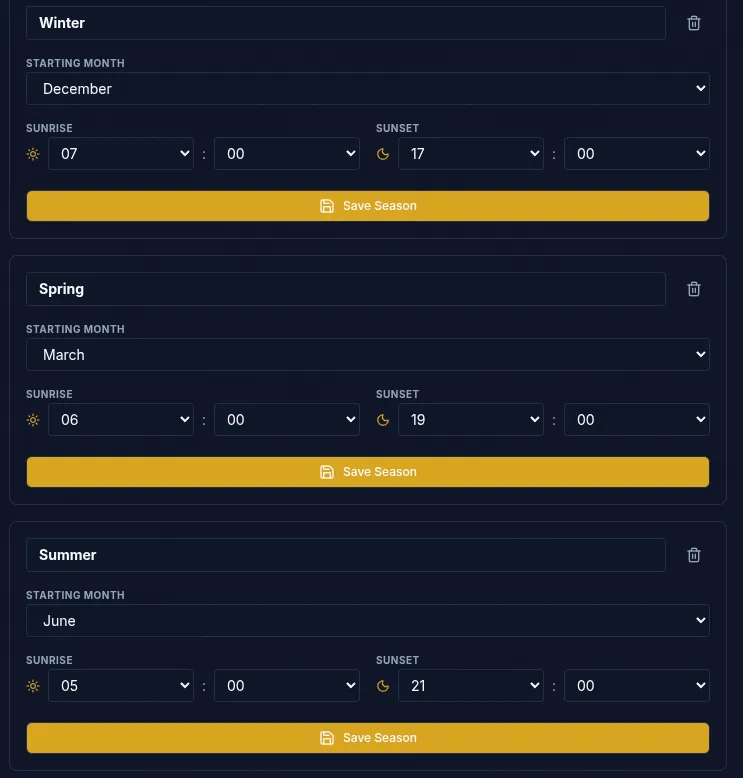
- Seasons & Sun Cycles: the month each season starts, and its sunrise and sunset.
- Current Date & Time: the moment your story begins, down to the minute.
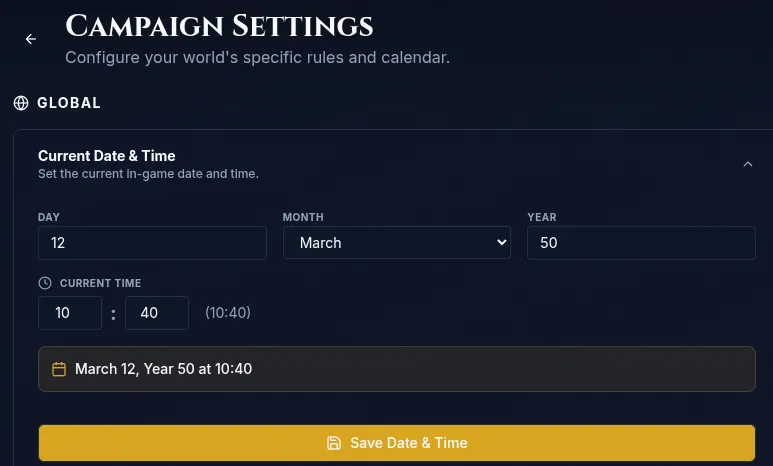
You can come back and change any of this. Changing the current date asks you to confirm first, because everything after it is measured from that moment.
5. Add places (optional, but worth it)
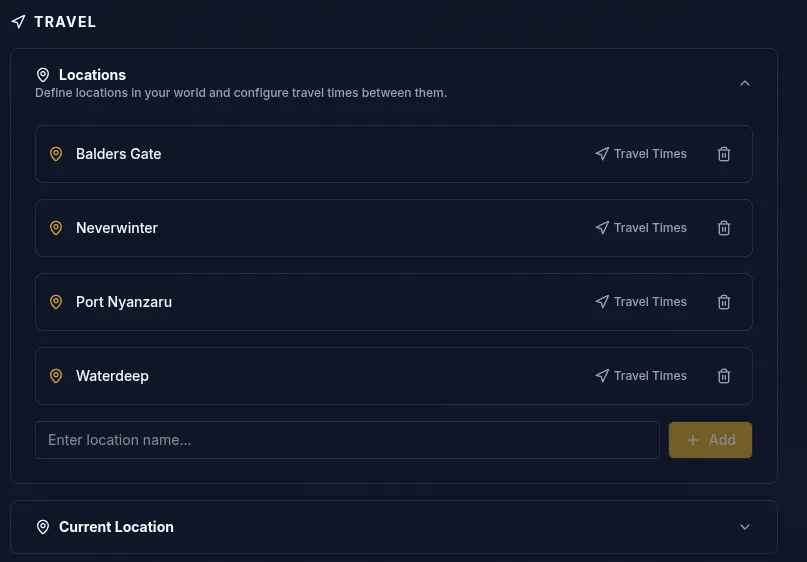
Under Locations, add the towns, dungeons and landmarks your party will visit, and set the travel times between them. Then pick where the party is under Current Location.
6. Set danger levels (optional)
Where the party sleeps should matter. A night in a tavern common room is not a night at the bottom of a dungeon, and Chronkeeper can roll for that.
When you record a rest you may pick a danger level. Chronkeeper rolls a d20 against that level and tells you what, if anything, finds the party: nothing at all, something non-combat, a fight, or something deadly. Every campaign starts with these five levels ready to use:
| Danger level | Something happens | A fight | Deadly |
|---|---|---|---|
| Safe | 18+ | never | never |
| Low | 15+ | 18+ | never |
| Medium | 11+ | 15+ | 20 |
| High | 7+ | 11+ | 19+ |
| Extreme | 4+ | 7+ | 18+ |
Read a row as the d20 roll needed. At safe, a tavern night is quiet unless you roll 18 or more, and a fight never happens. At extreme, most nights bring something, and roughly one in seven is deadly.
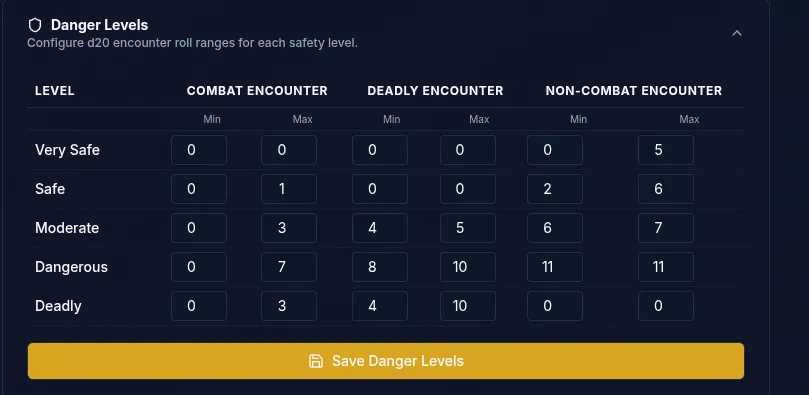
You can skip this entirely: leave the danger level unset and a rest is simply a rest. Encounter checks run on short and long rests, so travel and other events pass without a roll.
7. Add your players and characters (optional)
Also optional, and worth doing before your first session: tell Chronkeeper who is at your table.
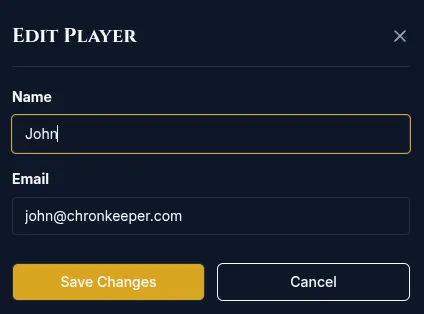
A player is the person — a name, and an email address if you want one on file. Their characters belong to them, so when Tomas retires his ranger and rolls a cleric, both stay attached to the same player and the campaign keeps the history.
Characters are the part the rest of Chronkeeper builds on. Crafting projects belong to a character, not to the party, so a character record is what lets you follow who is out gathering reagents and who has a blade cooling on the bench. The tools we are building next — session planning and party-level tracking — start from the same records, so a table filled in now pays off later.
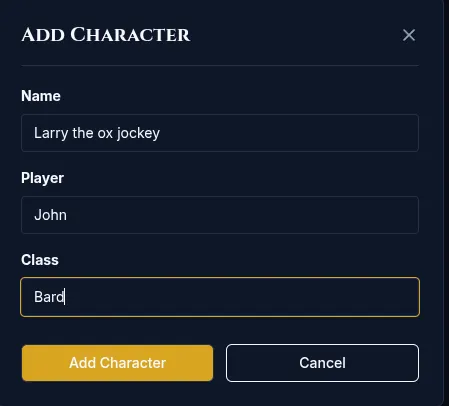
You can skip this and add people later; nothing else in this guide depends on it. But crafting will ask you which character is doing the work, so if that is where you are headed, start here.
8. Record your first event
Back in the campaign, open Campaign Manager → Record an Event and pick what the party is doing:
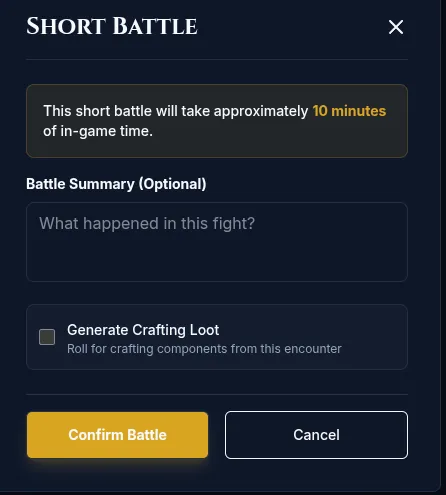
| Event | Clock moves by |
|---|---|
| Short battle | 10 minutes |
| Big battle | 10 minutes |
| Epic battle | 20 minutes |
| Short forage | 1 hour |
| Long forage | 2 hours |
| Identify item | 2 minutes |
| Study item | 10 minutes |
| Short rest | however long you set |
| Long rest | 8 hours |
| Travel | the route’s time |
The clock in the top bar moves, and the event appears in Campaign Manager → Event Log, stamped with the in-game time it happened. That log is your campaign’s memory: next session, it is where you look to see how long ago the party left town.
What next
- Try the Dice Tools: the roller, roll tables, and the loot roller.
- On Adept, set up Crafting recipes and ingredients.